
I’m making plasters for my 100% outdoor studio. It’s been 3-4 days and the plasters are still feeling a bit wet. I hope I didn’t ruin them all and don’t have to toss them. That’d be pretty sad.
Why does a potter make plasters?
So far, I learned from my local potters’ studio that one uses plasters to:
- Wedge the clay before throwing, to reduce air bubble, and make it more uniform. The plasters are always wiped clean with sponge everytime it’s used for wedging.
- Dry the pieces that don’t turn out on the wheel for faster reclaim back to the clay bag.
- Dry all the recycled clay altogether. The source might be the slurry, and the dry trimmings. I guess this is the main reclaim my studio does. This is possible because everybody only uses Cone 10 clay in the studio.
- Some people also throw using plaster bat, my guess is for pieces with larger surface area on the bottom, but unsure why they don’t use just a regular bat.
You don’t usually buy plasters. I think this makes sense, as a large portion of pottery is DIY. I bought a 50 lbs for pottery plaster from the local pottery shop. Because I don’t really have a good storage of it before use, I stored it in a plastic bag in my car to prevent condensation.
I made a few plasters in clear containers after watching this youtube video by Earth Nation Ceramics. In short, their formula seems to be 1 quart of water to 3 pounds of plaster. The more plaster in the ratio, the harder it’d be. The amount of water is the volume of plaster you want at the end.
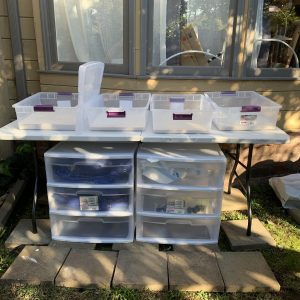
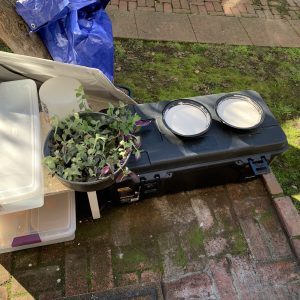
So these are all the plasters I made. I still have 2 lb of plaster left, so I might use it to make another round one.
I will update this post after they’re (hopefully) done. If not, I guess I have to get a better situation for drying them in a more warm condition.